Project 3 - LIA

Blender scene and animation

Objects I created

1 / 6
2 / 6
3 / 6
4 / 6
5 / 6
6 / 6

Objects I created

I made a wood plank, then duplicated it a bunch to make this Dock, using cylinders for the legs
I applied wood plank texture for the planks and wood bark texture for the legs
I added a HDRI of a beautiful sky
I looked for the possible way to make water and ended up on this one
I created a simple plane and added these nodes
The last thing I made is a simple path linking the dock and the house and applying a texture. I have no idea how to remove the black bar that appeared on my dock. Without a direct way to fix this I thought about covering it later with some vegetation

Landscape

1 / 6
2 / 6
3 / 6
4 / 6
5 / 6
6 / 6

I sculpted a plane and added a grass texture, I tried adding actual interactive grass with hair physic, but decided against it when I added 2 000 000 of them and my Computer was not a fan (freezing blender while using 62GB of RAM)
I found a lot of free assets and took time to put them in a collection for easy use in Blender. For this scene I started by adding a mountain in the background
Next I added two buildings, a stone wall and a rocking chair.I also added trees thanks to Arborea, an Addon I bought giving me access to lots of plants and other nature stuff
I still wanted grass to add more texture to the scene, so i added a grass asset and using SHIFT-D, copied it.. a few time.. only 4000 I later learn that I really should have use ALT-D which basically makes another instance of the exact same asset, copying ts proprieties. Why? Because the normal copy-pasting make an independent copy, meaning all 4000 copies are loaded indiviually during the rendering making it a lot slower. Although using ALT-D prevents you from editing them separately
I made an improvised drying rack with two scaled up branches and a cylinder with wood texture,I added collision to it for the next step
For the piece of fabric, I simply added cloth physic to a plane

Ambiance

1 / 6
2 / 6
3 / 6
4 / 6
5 / 6
6 / 6

From the start I wanted the scene to take place at night, so I added a lantern.It didn't illuminate so I placed a Point type of light where a flame would be and chose a yellow color to simulate fire.
I duplicated my lantern + point light combo a few time
To simulate a bit of life inside the house I added Area Light in front of all the windows using the same color as the lanterns
For the overall light needed to see the rest of the scene I added a sun, gave it a blue tint.And for its power, it gets dimmer with time using keyframes.
I learned a trick to give my scene a misty/foggy ambiance by placing the scene itself inside a giant cube and giving it a partially transparent volume
I fixed the animation of the water texture, changing the speed and direction of the current

Animation

1 / 6
2 / 6
3 / 6
4 / 6
5 / 6
6 / 6

The first thing I did for the animation is adding a wind to blow the fabric away. I *baked* the animation of the fabric flying away to be able to actually delete the wind after because it stopped the rain I added later.
For the rocking chair I added a cylinder in the middle of the legs and set the origin to it. I then manually rotated the chair while recording the changes in keyframes
The rain was a lot easier than what I expected to be honest. I created a plane at the top of my fog cube and made it emit particles. The particles are rendered using an object i created (A simple sphere with glass texture). To make the rain interact with the ground I added a Dynamic Paint (brush), in the physic tab and I used the particle effect I just created as a source. And to make it look better in the render I added motion blur
For the places I wanted to have rain splashes I added Dynamic paint but Canvas this time, selecting the brush created before and changing the surface type to Waves. This worked on the grass but nowhere else sadly, I cheated for the dock and water by creating a new plane, placing it right under the object and applying a glass texture. The plane used needs to be subdivided as well. I have no clue why I couldn't apply this effect on the water, but I understand the options are limitted when it comes to imported object.
For the cloud I used the simplest thing I could find to fill an empty space I didn't like in the sky. I made a cloud shape using metal balls and added then right-click on it adding a Volume -> Empty. I placed a cloud texture (from blender itself) and hide the metal ball mesh.
For the Camera I used the same keyframes recording technique used with the chair and moved it with the first person mode, I then adjusted the keyframe, delteing or moving them. I also changed the focal Lenght to zoom on the flying fabric.

Here are the Final Results!

This one is Eeve while I was editing.

This is the render at frame 0 in CYCLES

This is the render at frame 900

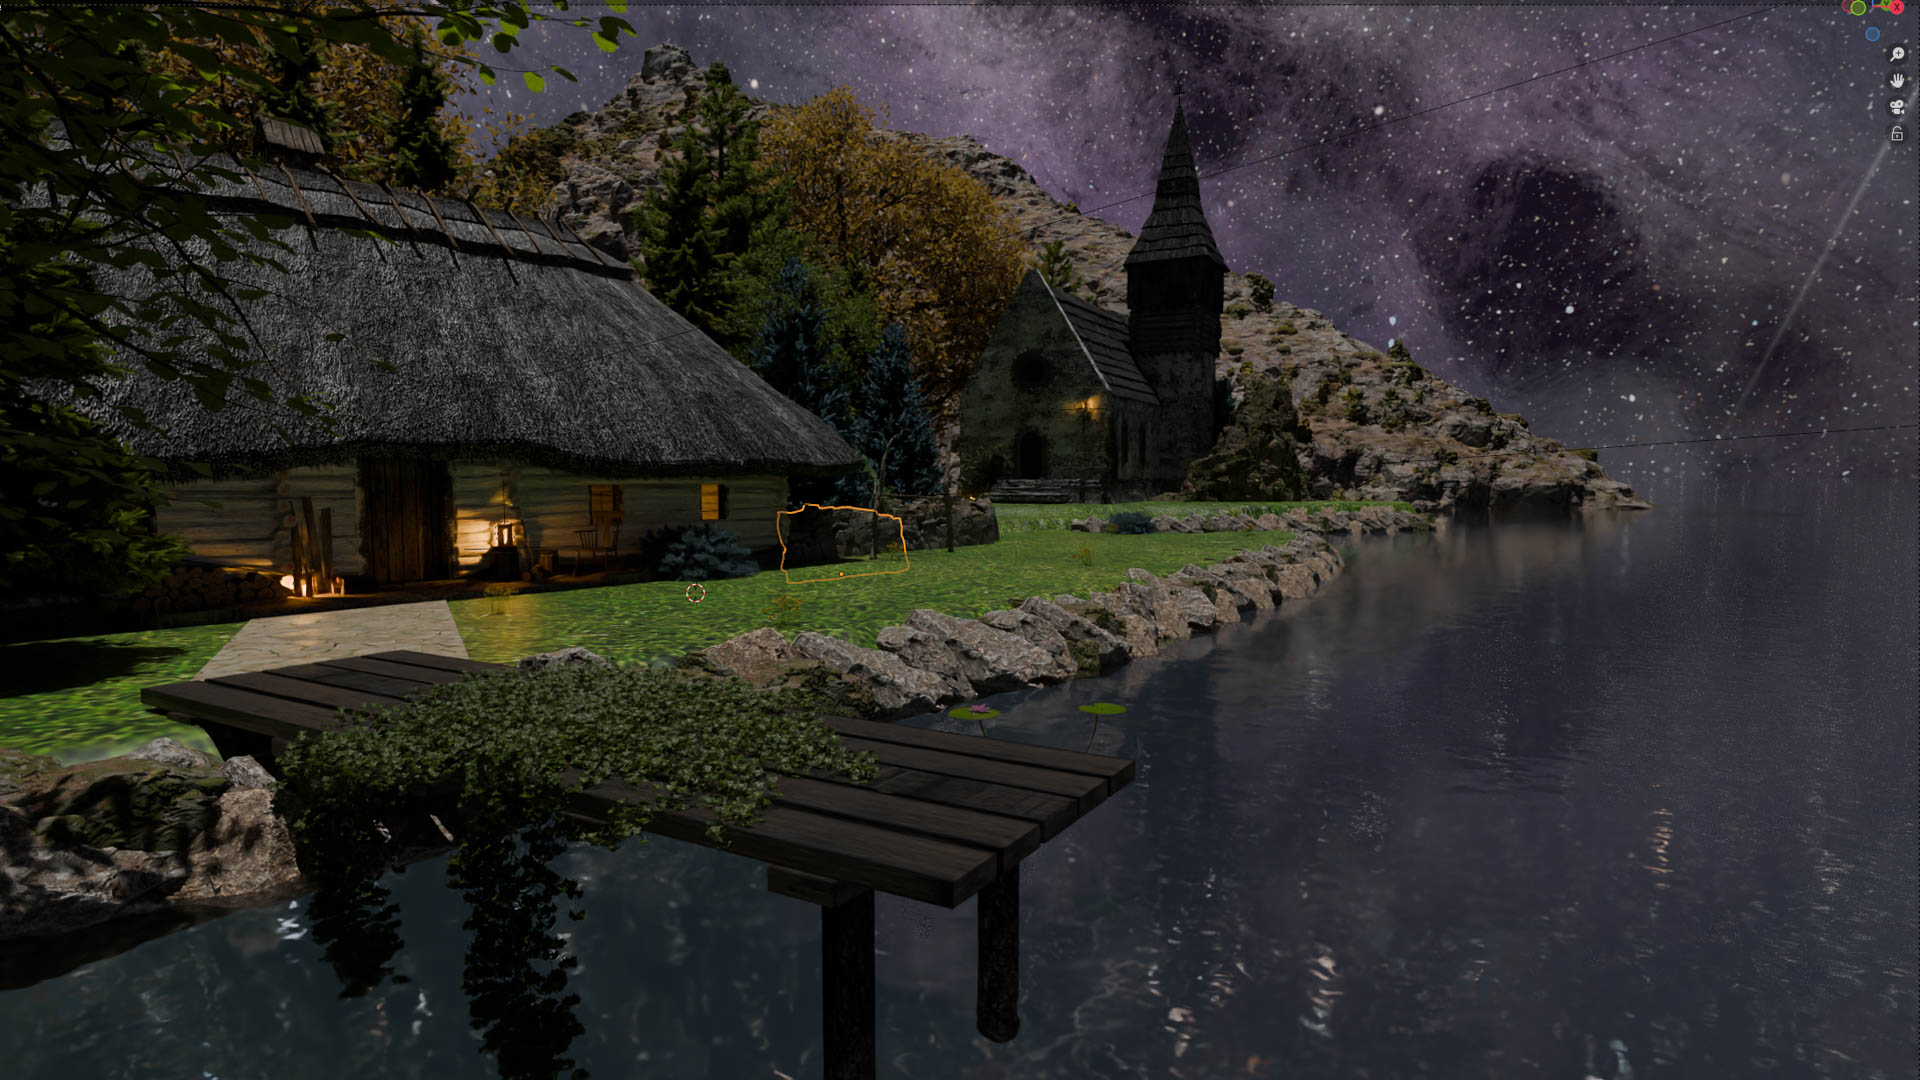
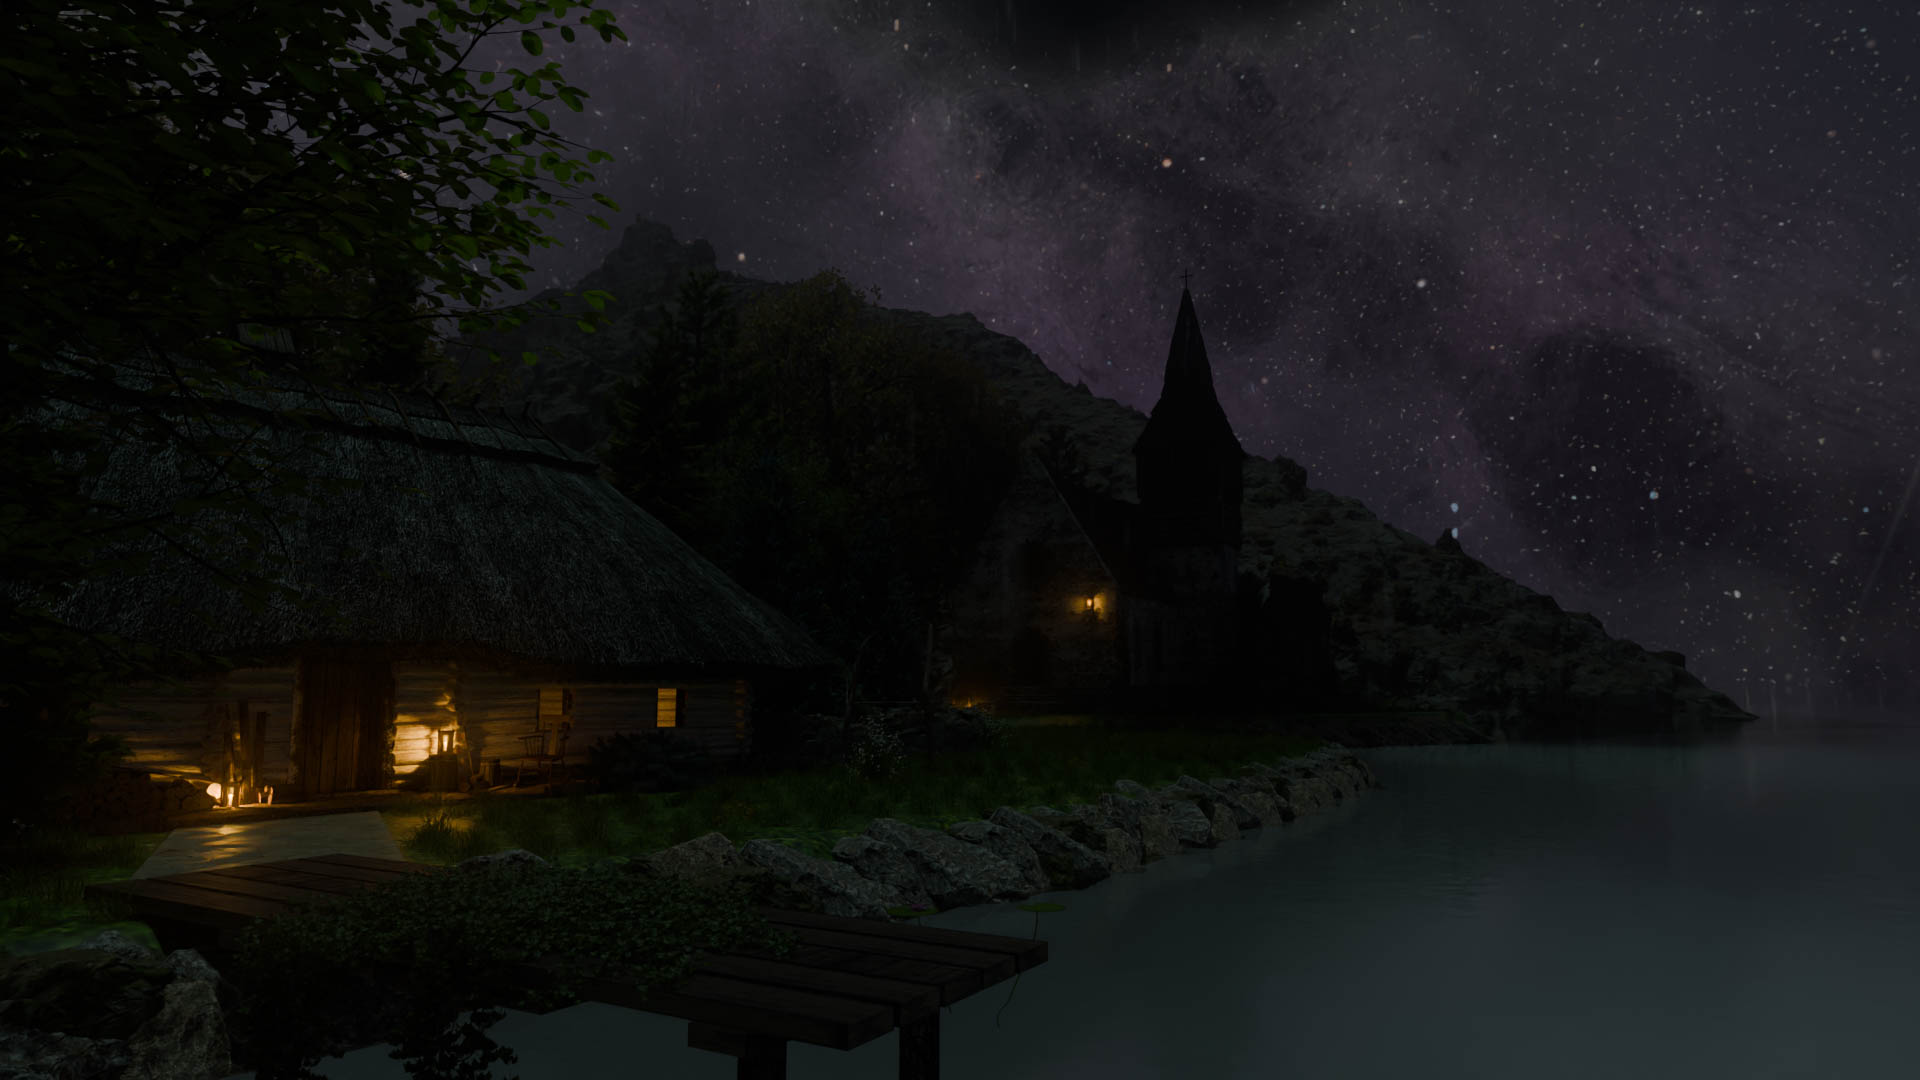
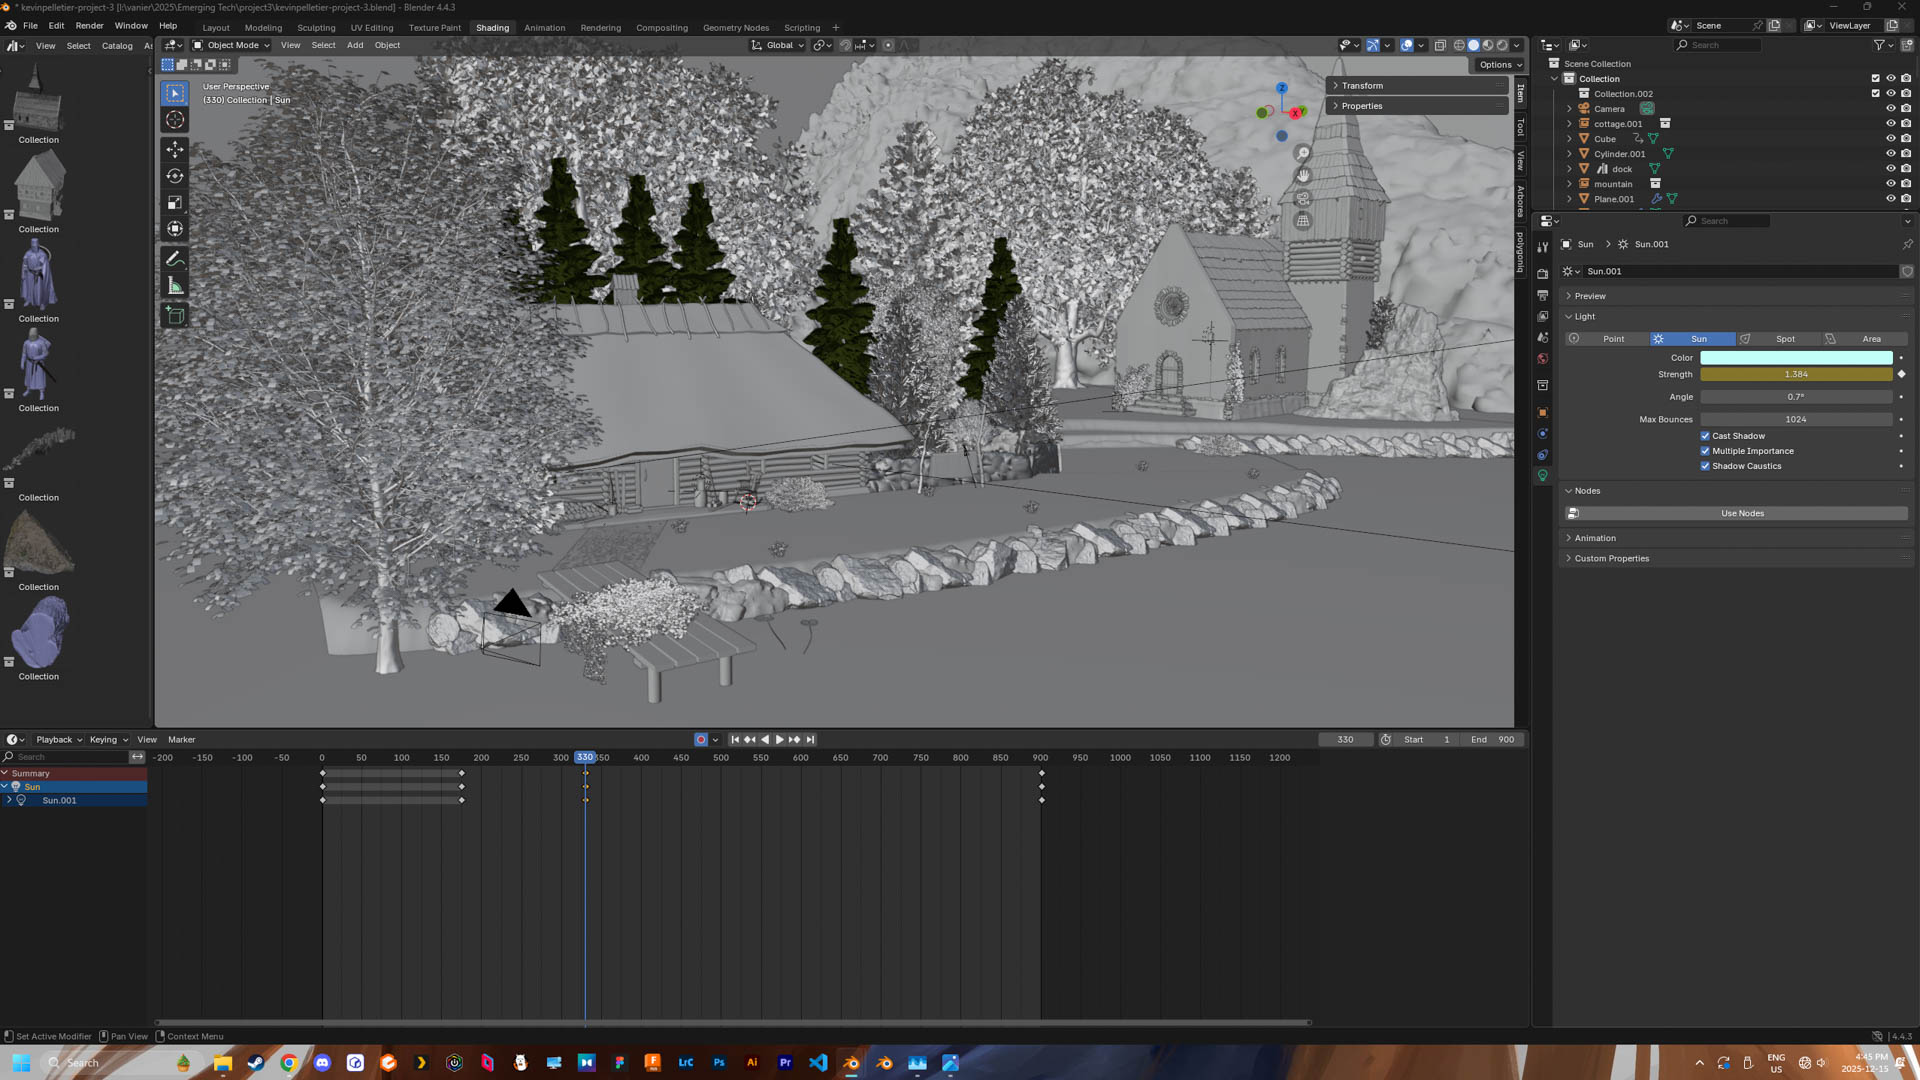
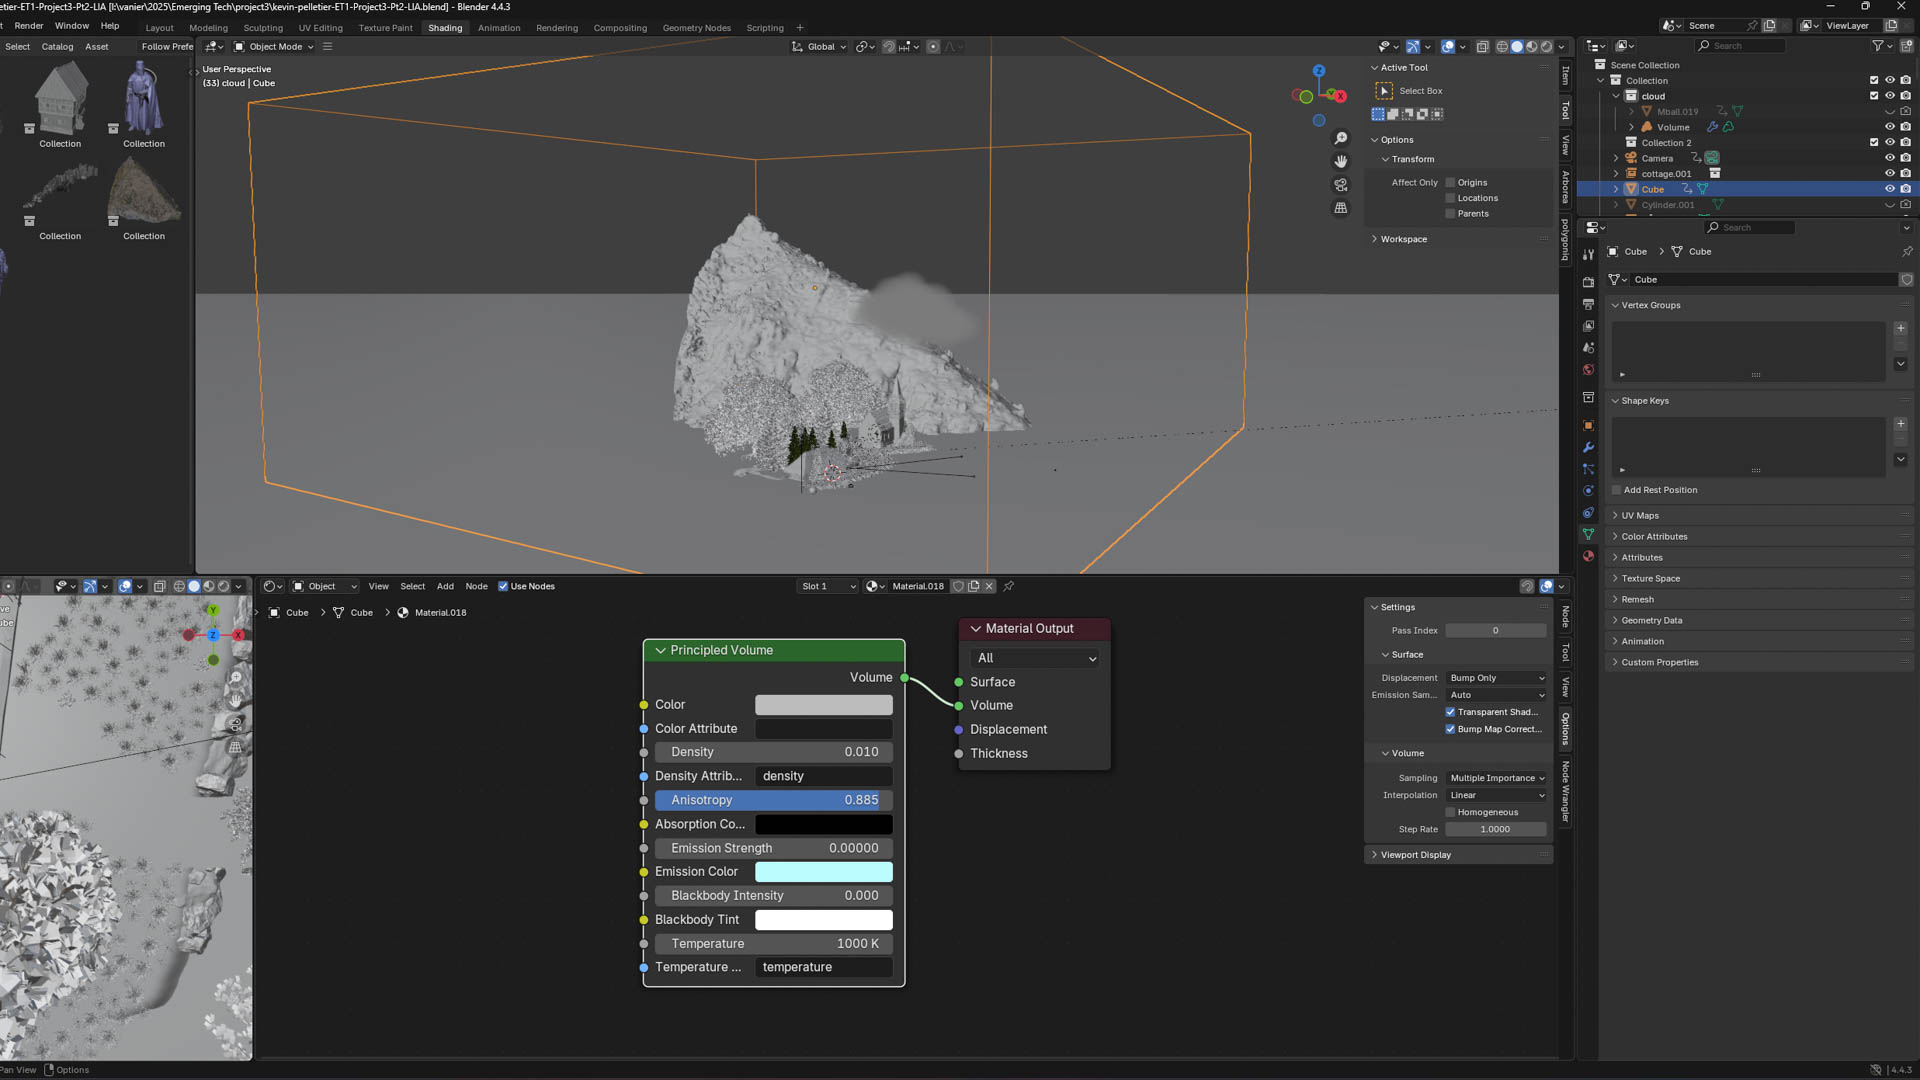
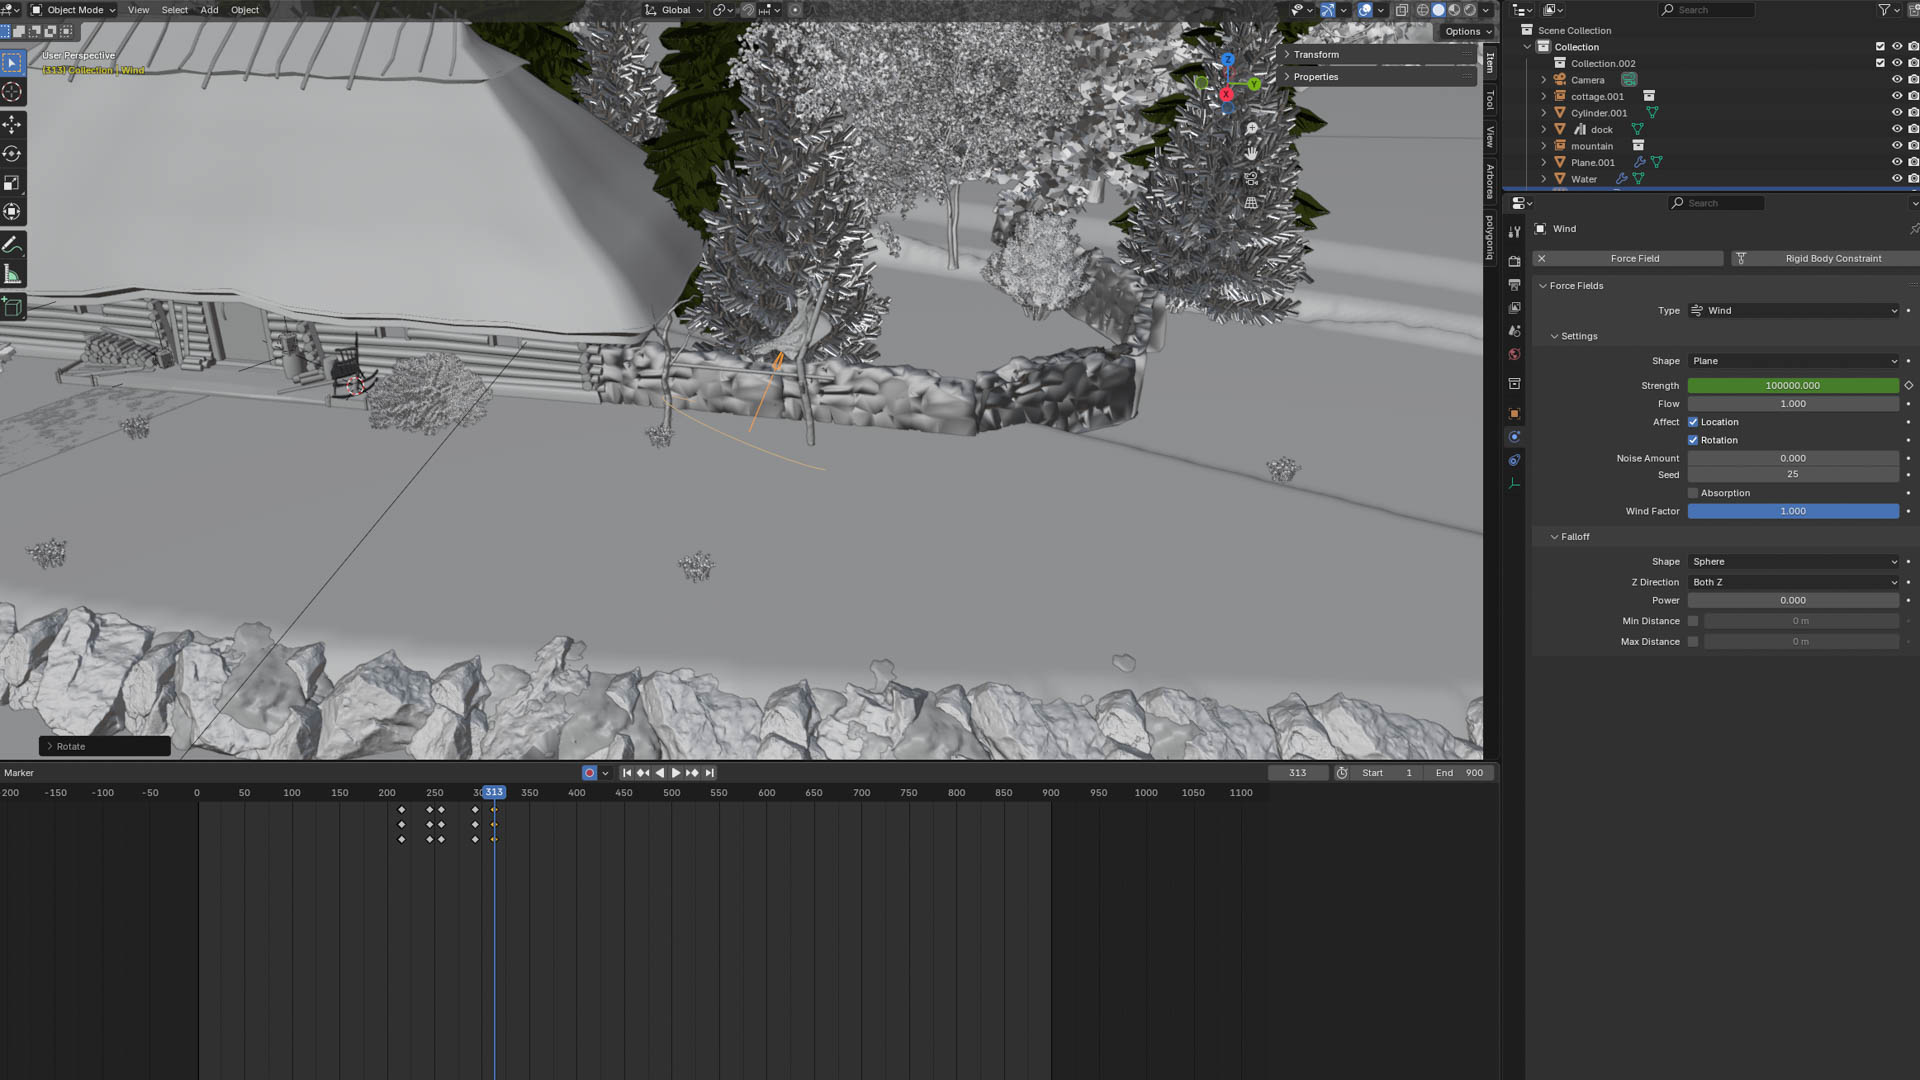
This took around 8h to render, not sure because I just slept through it,every frames took between 27-35seconds to render.. Enjoy!

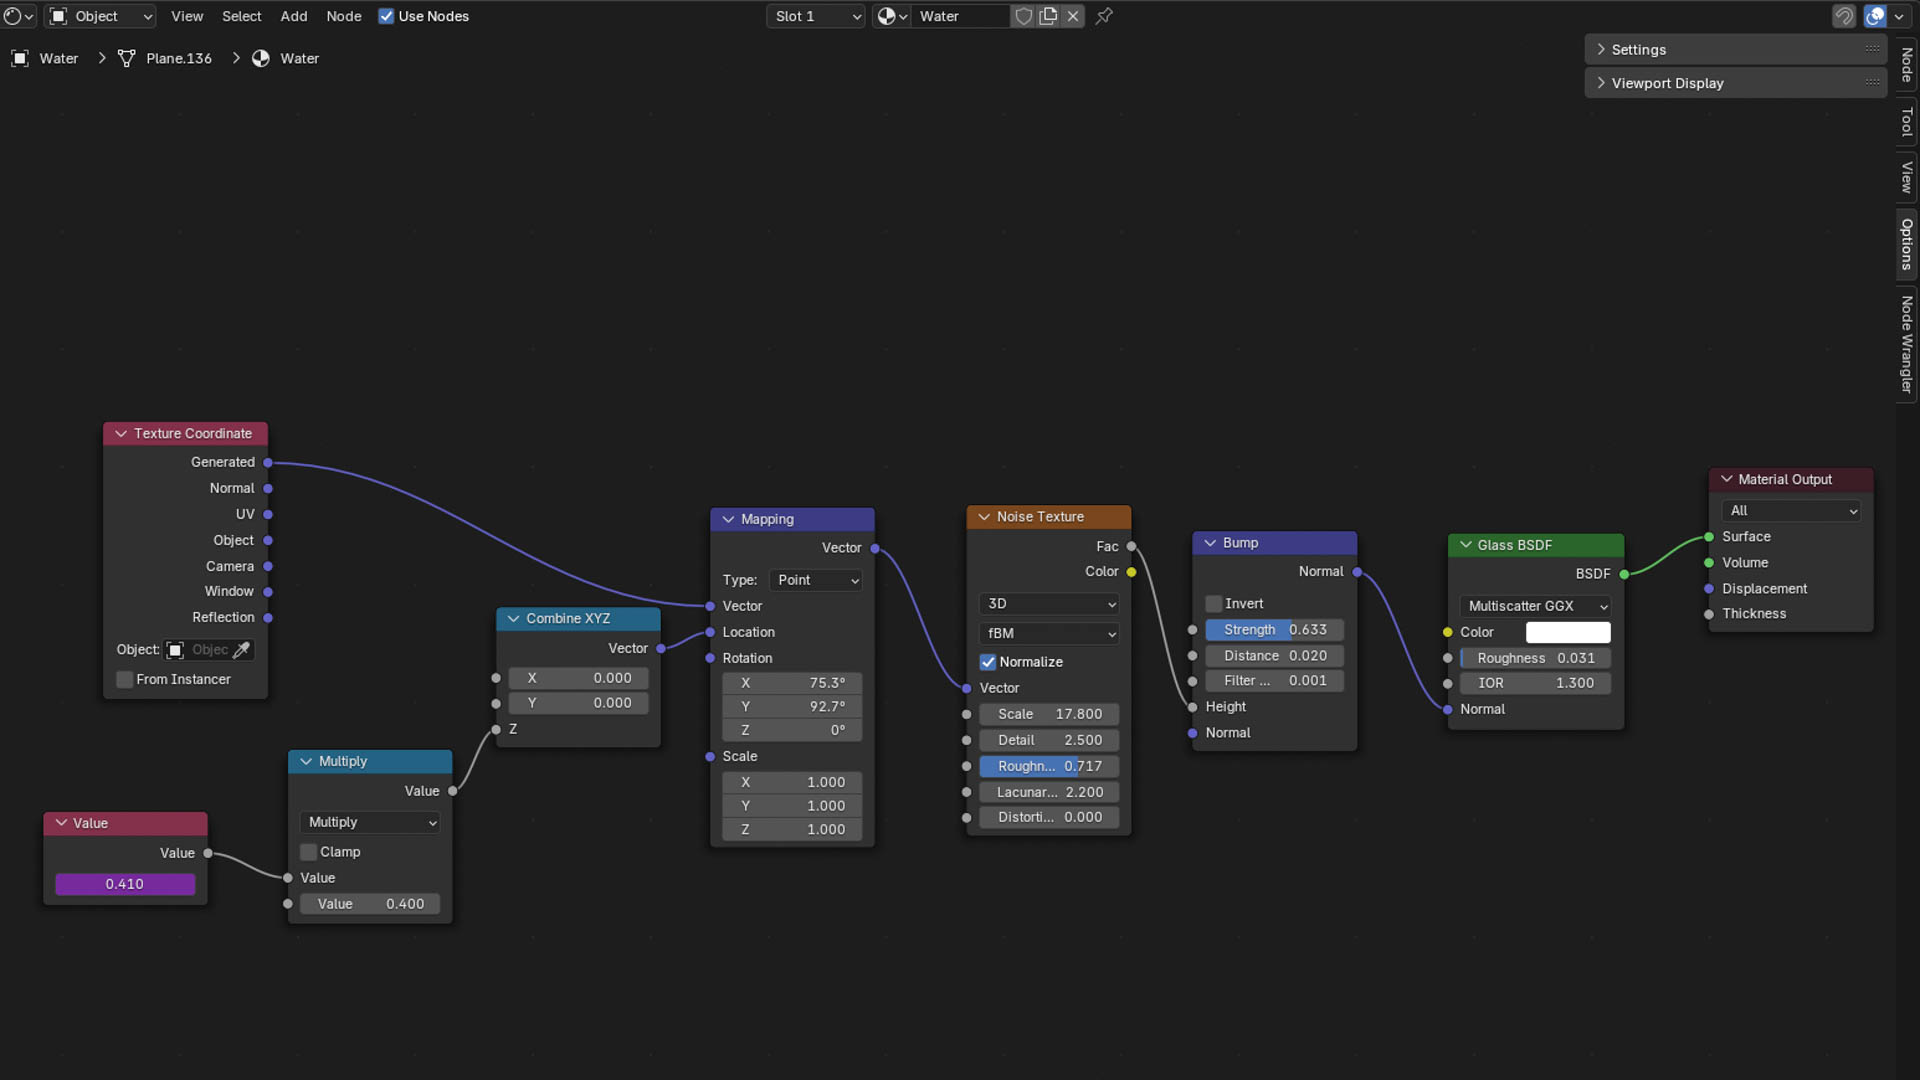
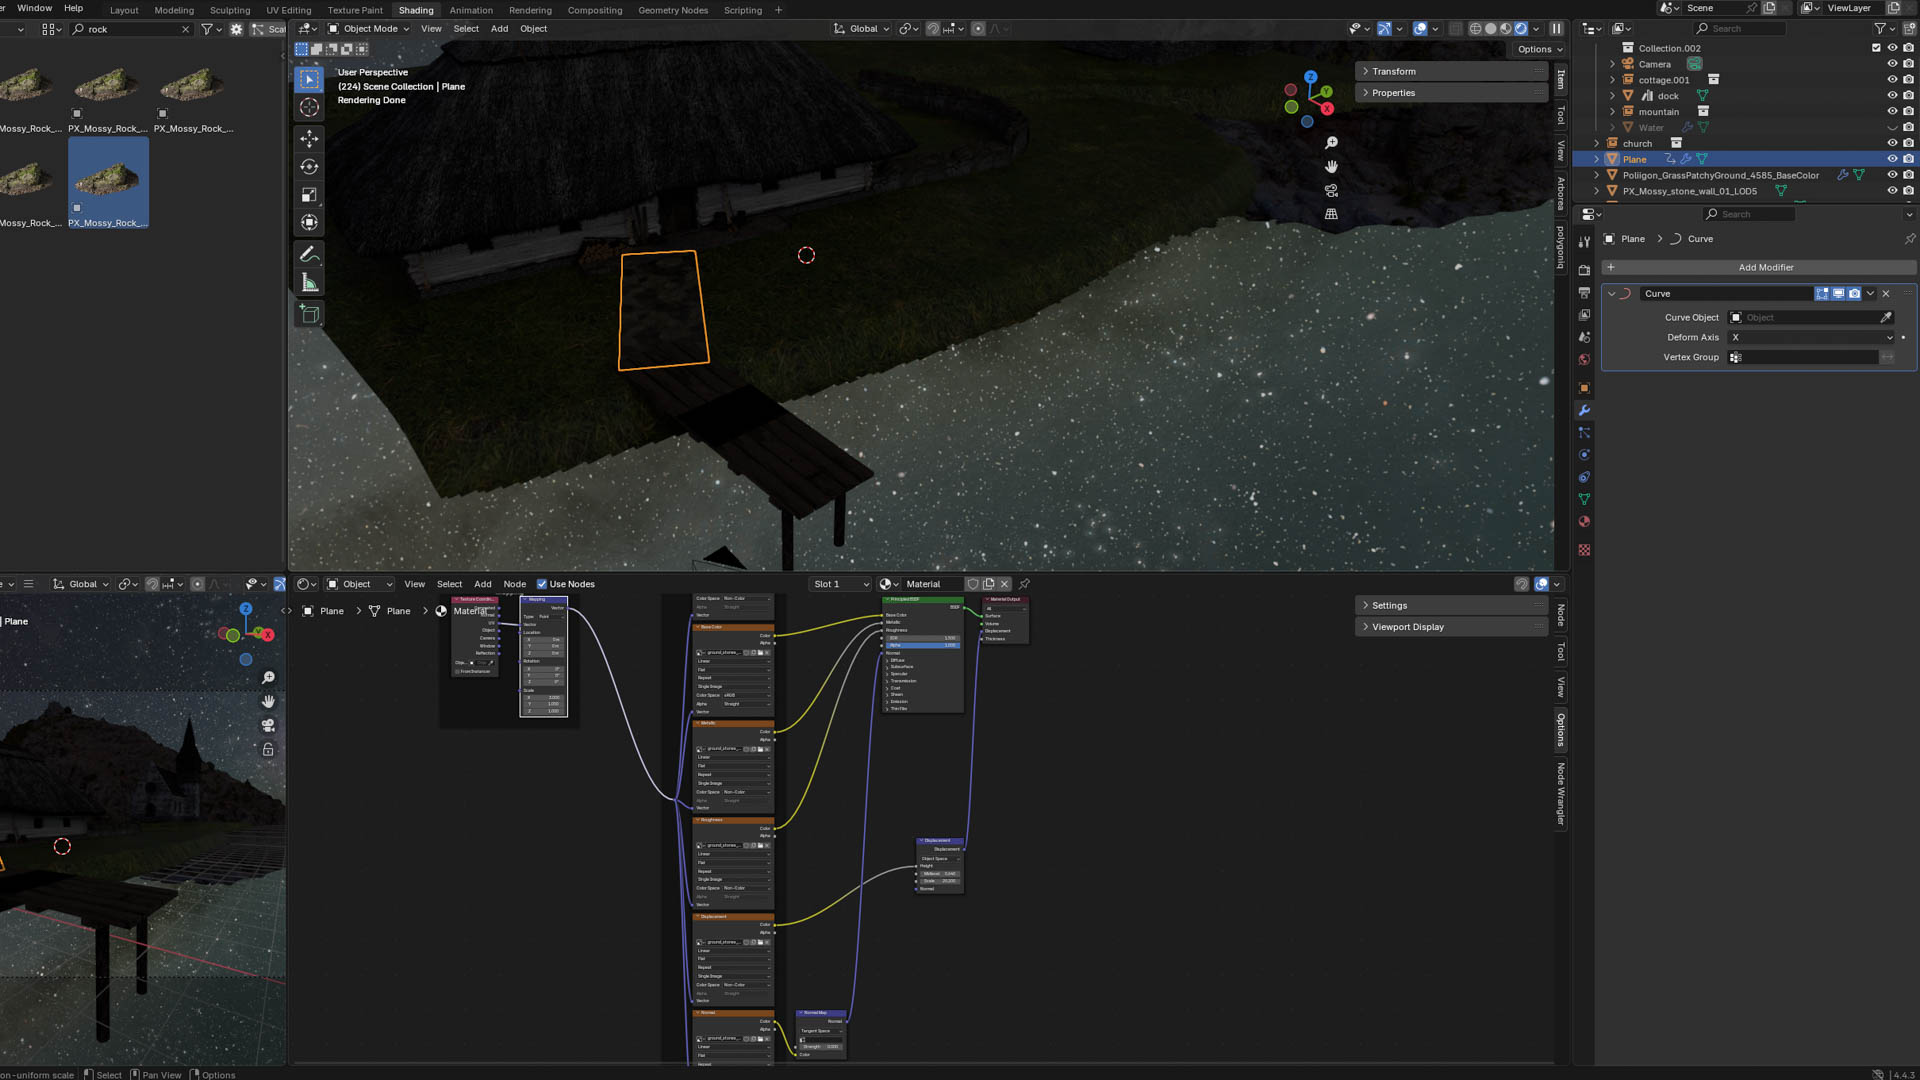
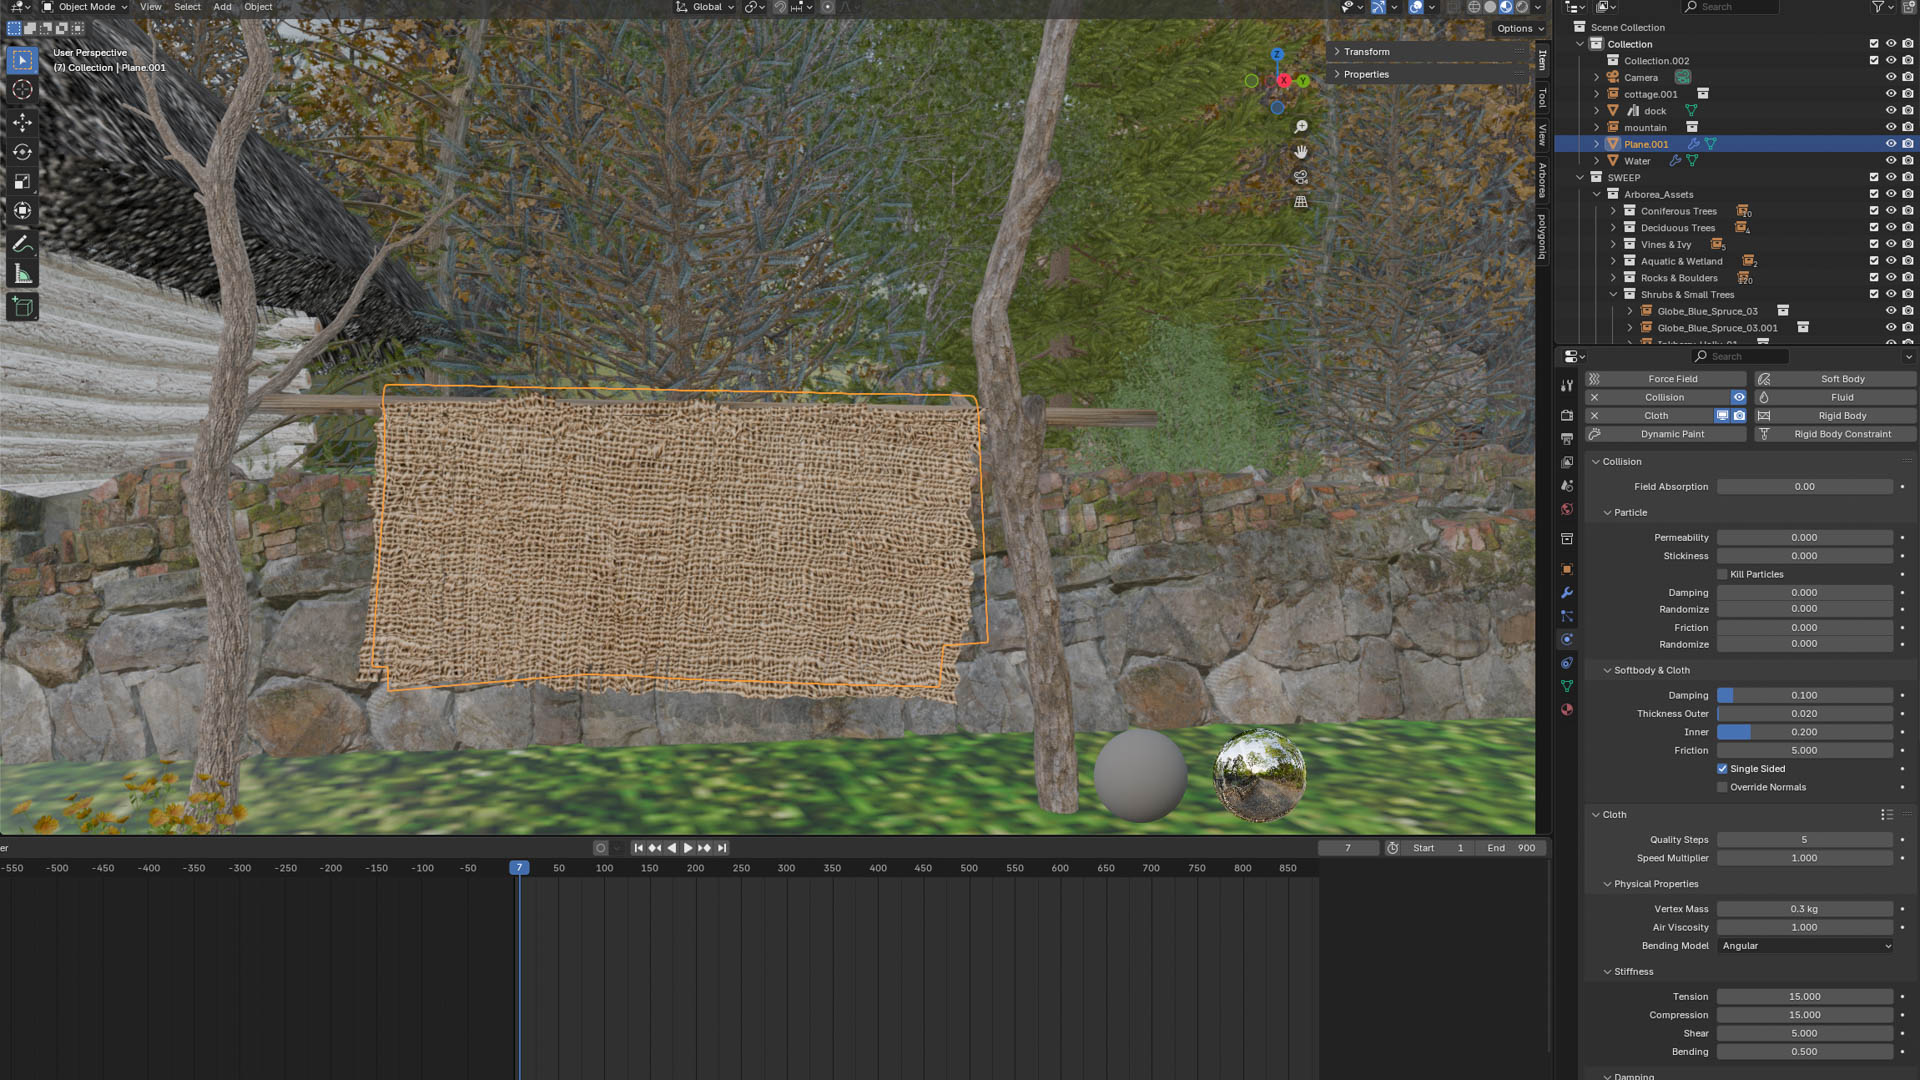
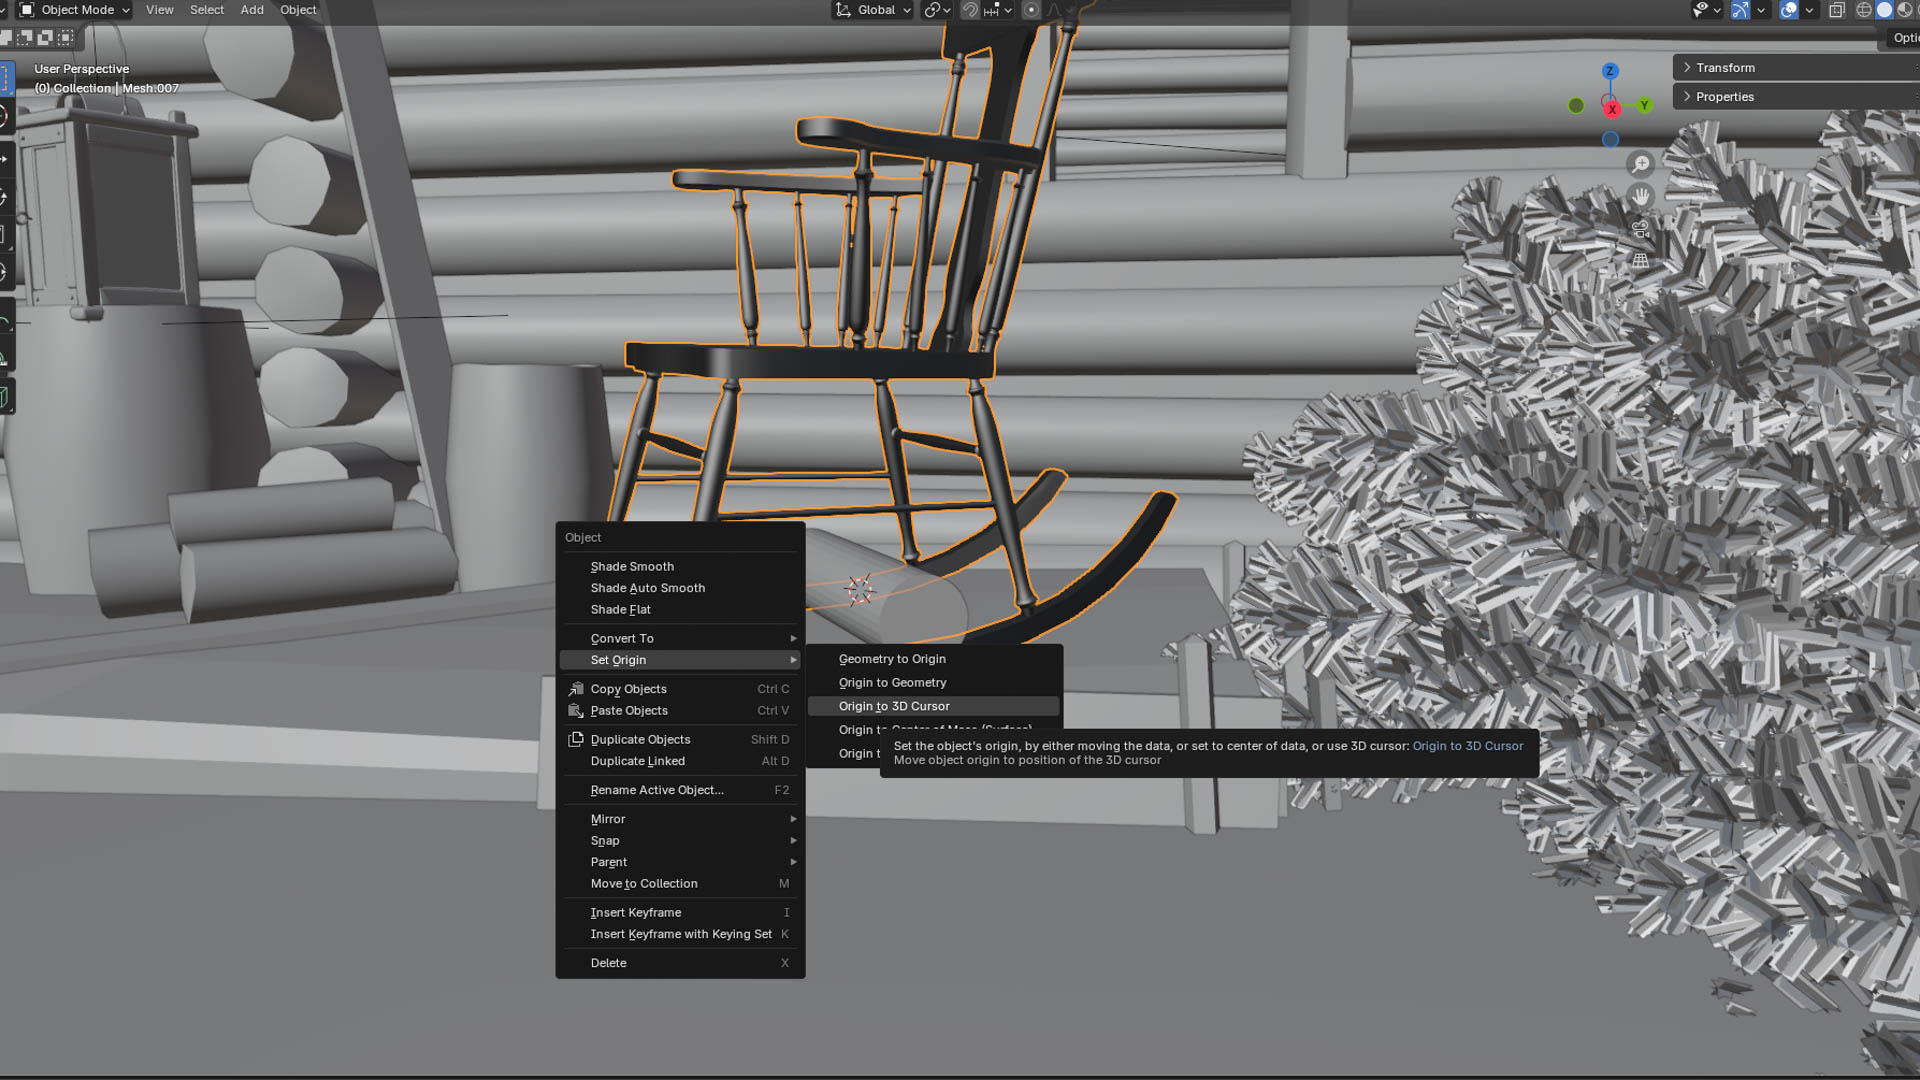
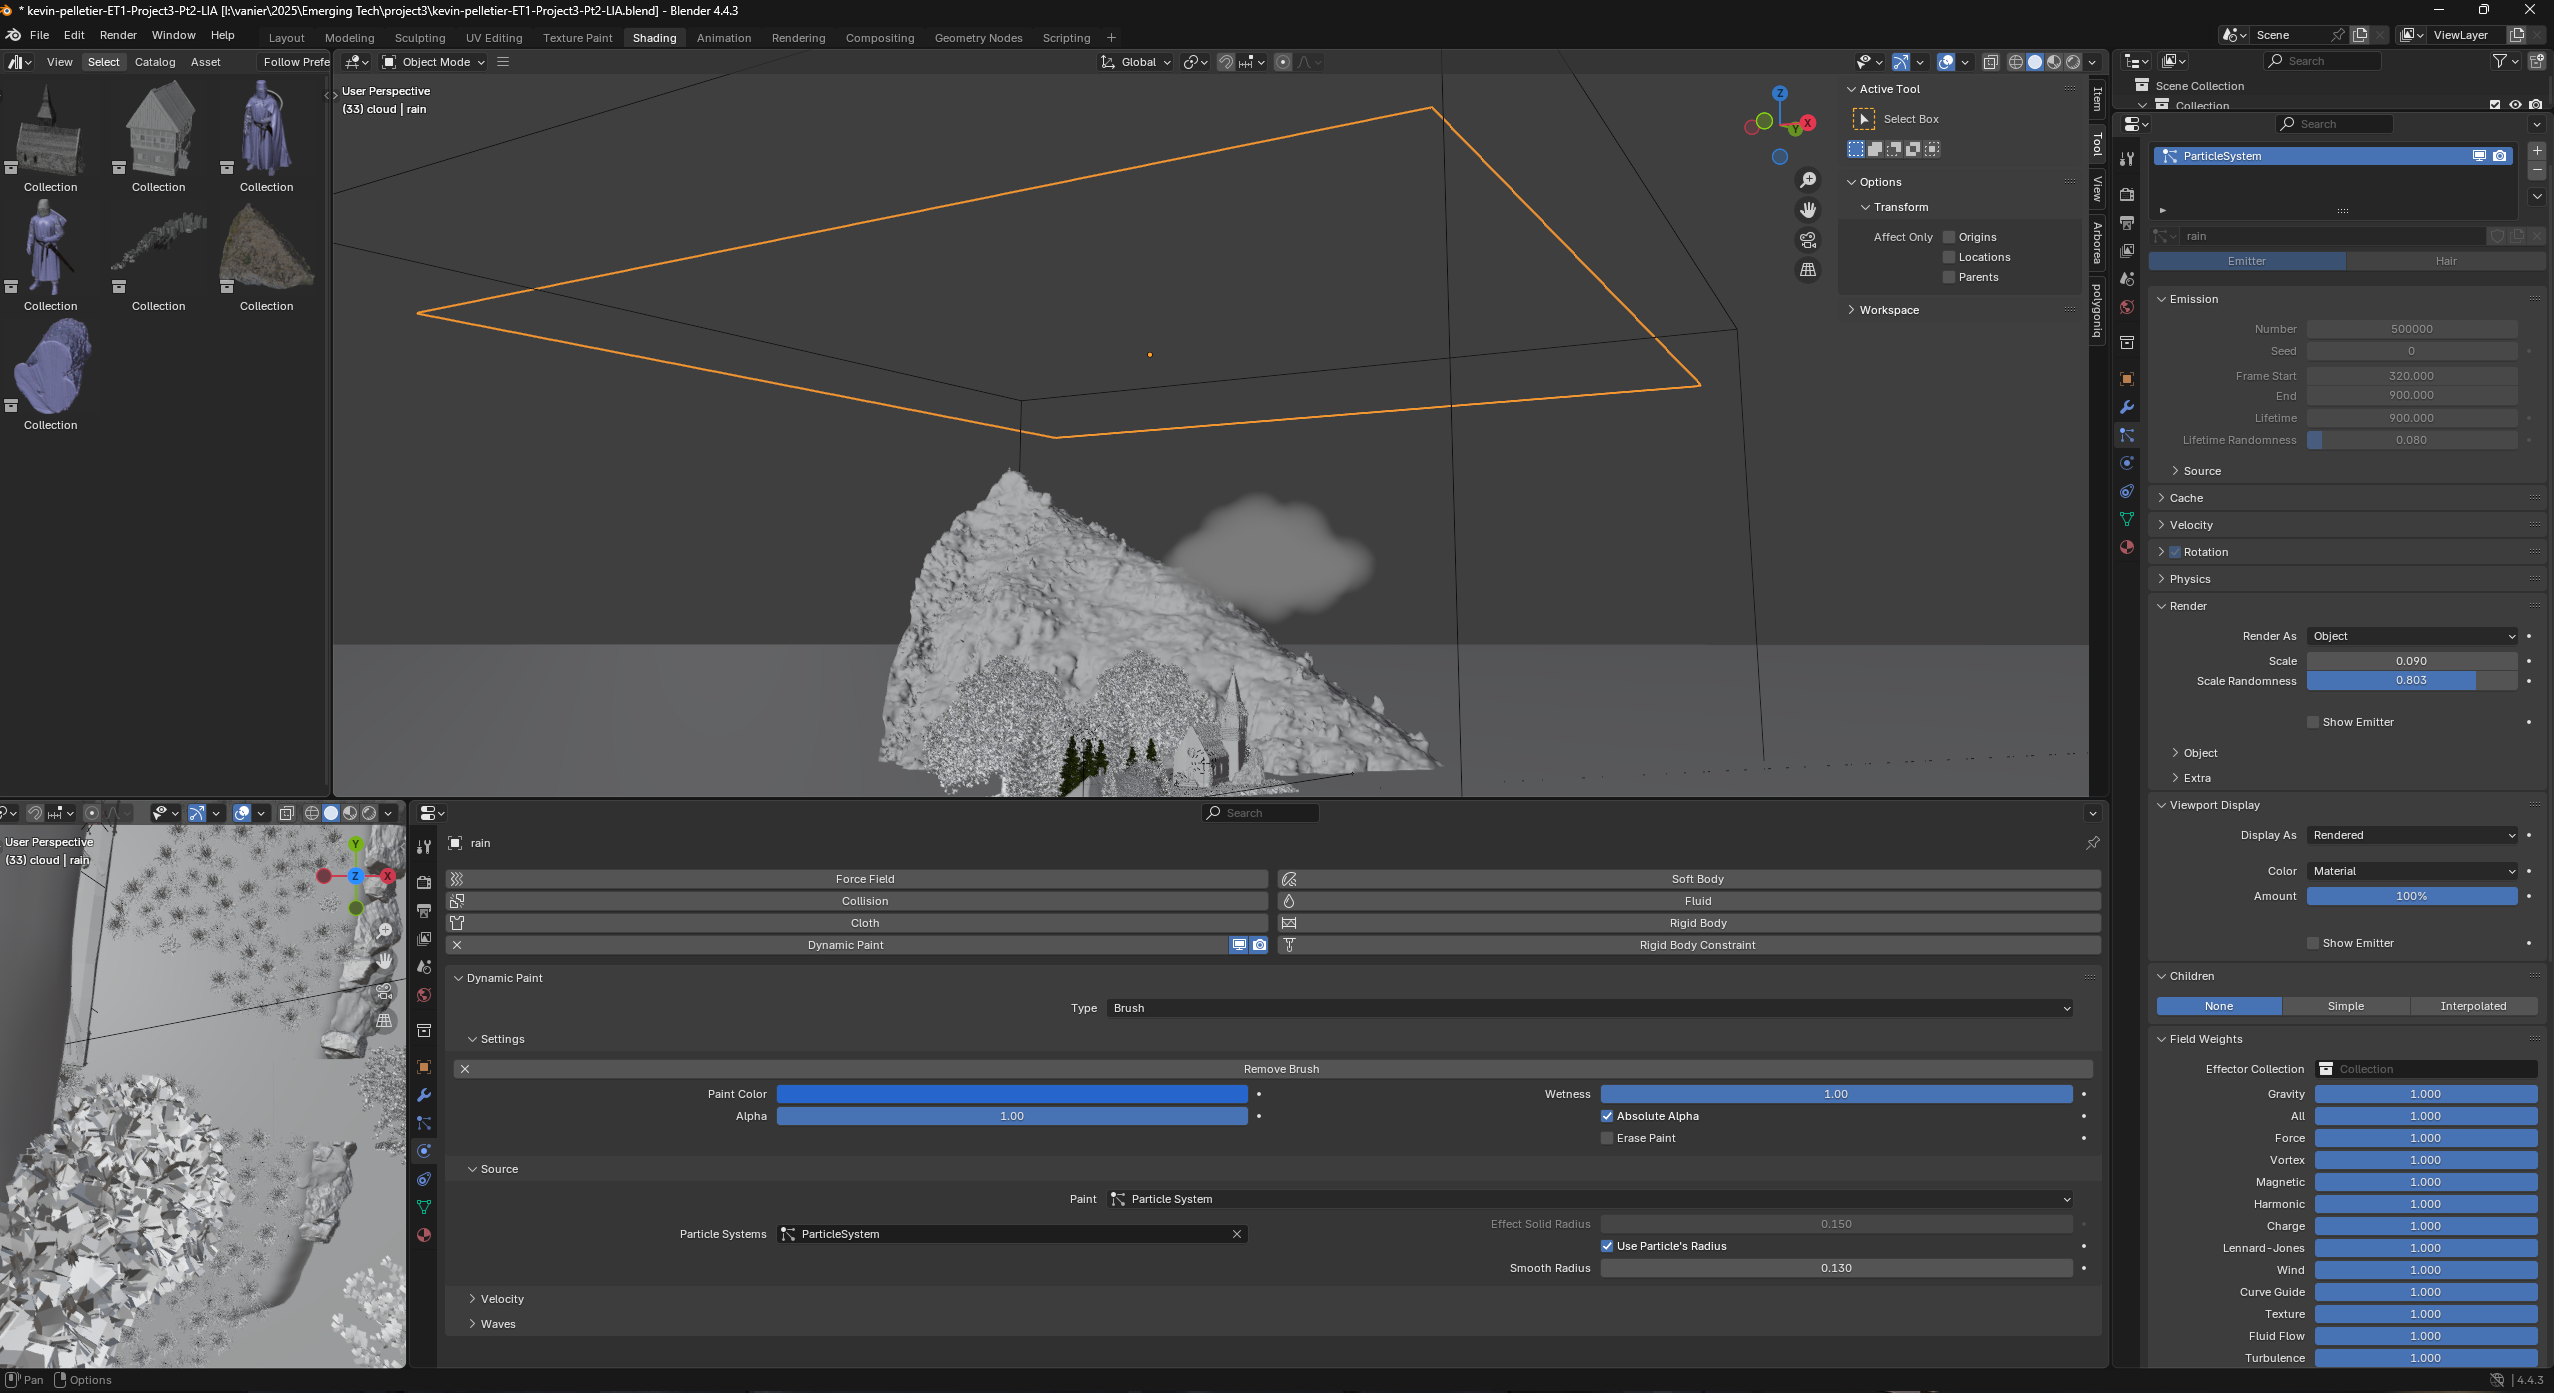
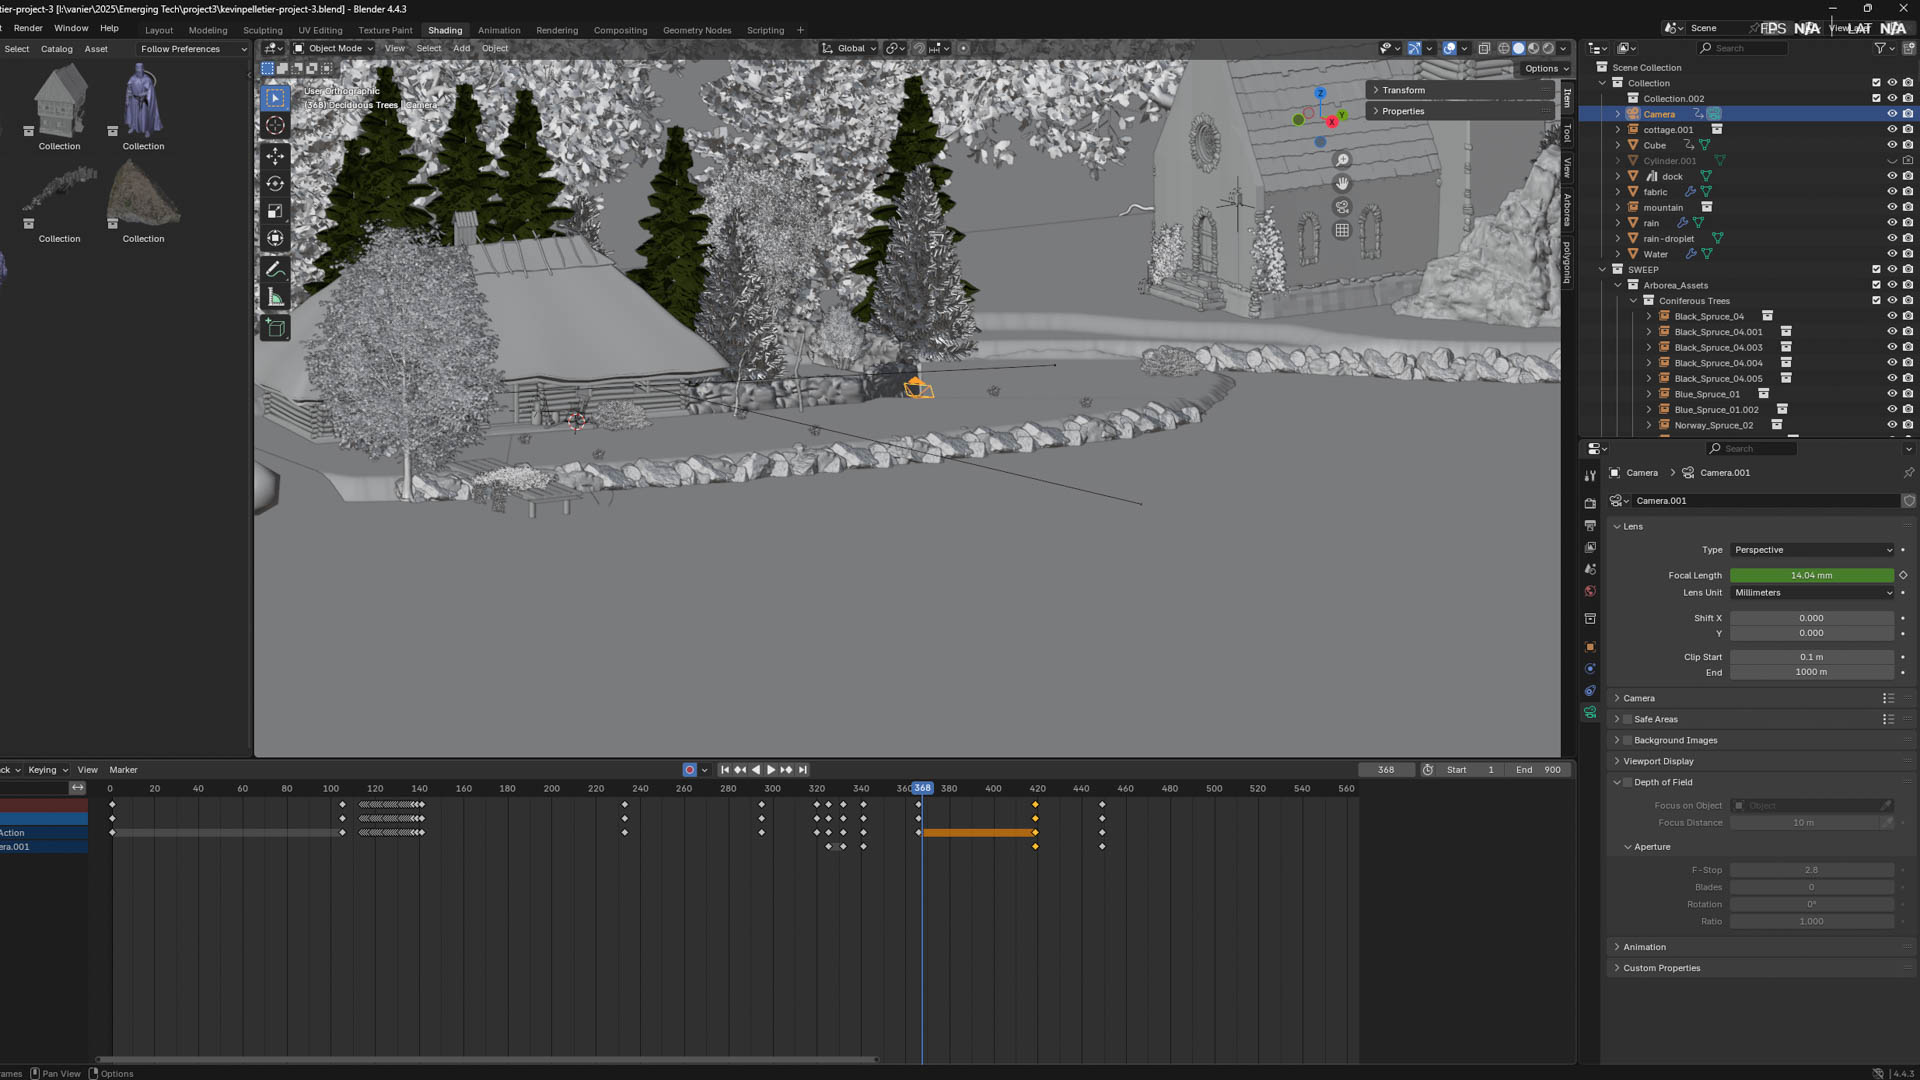
Next time I would give more attention to the timing of things, it is way too fast. I think it's partially due to the fact that I tried to fit everything in 30 seconds. I would also change the fabric, the texture or the physic or both, something weird is going on. That said I'm happy with the result for a first video render, the rocking chair isn't bad, the camera angles and ambiance are pretty nice